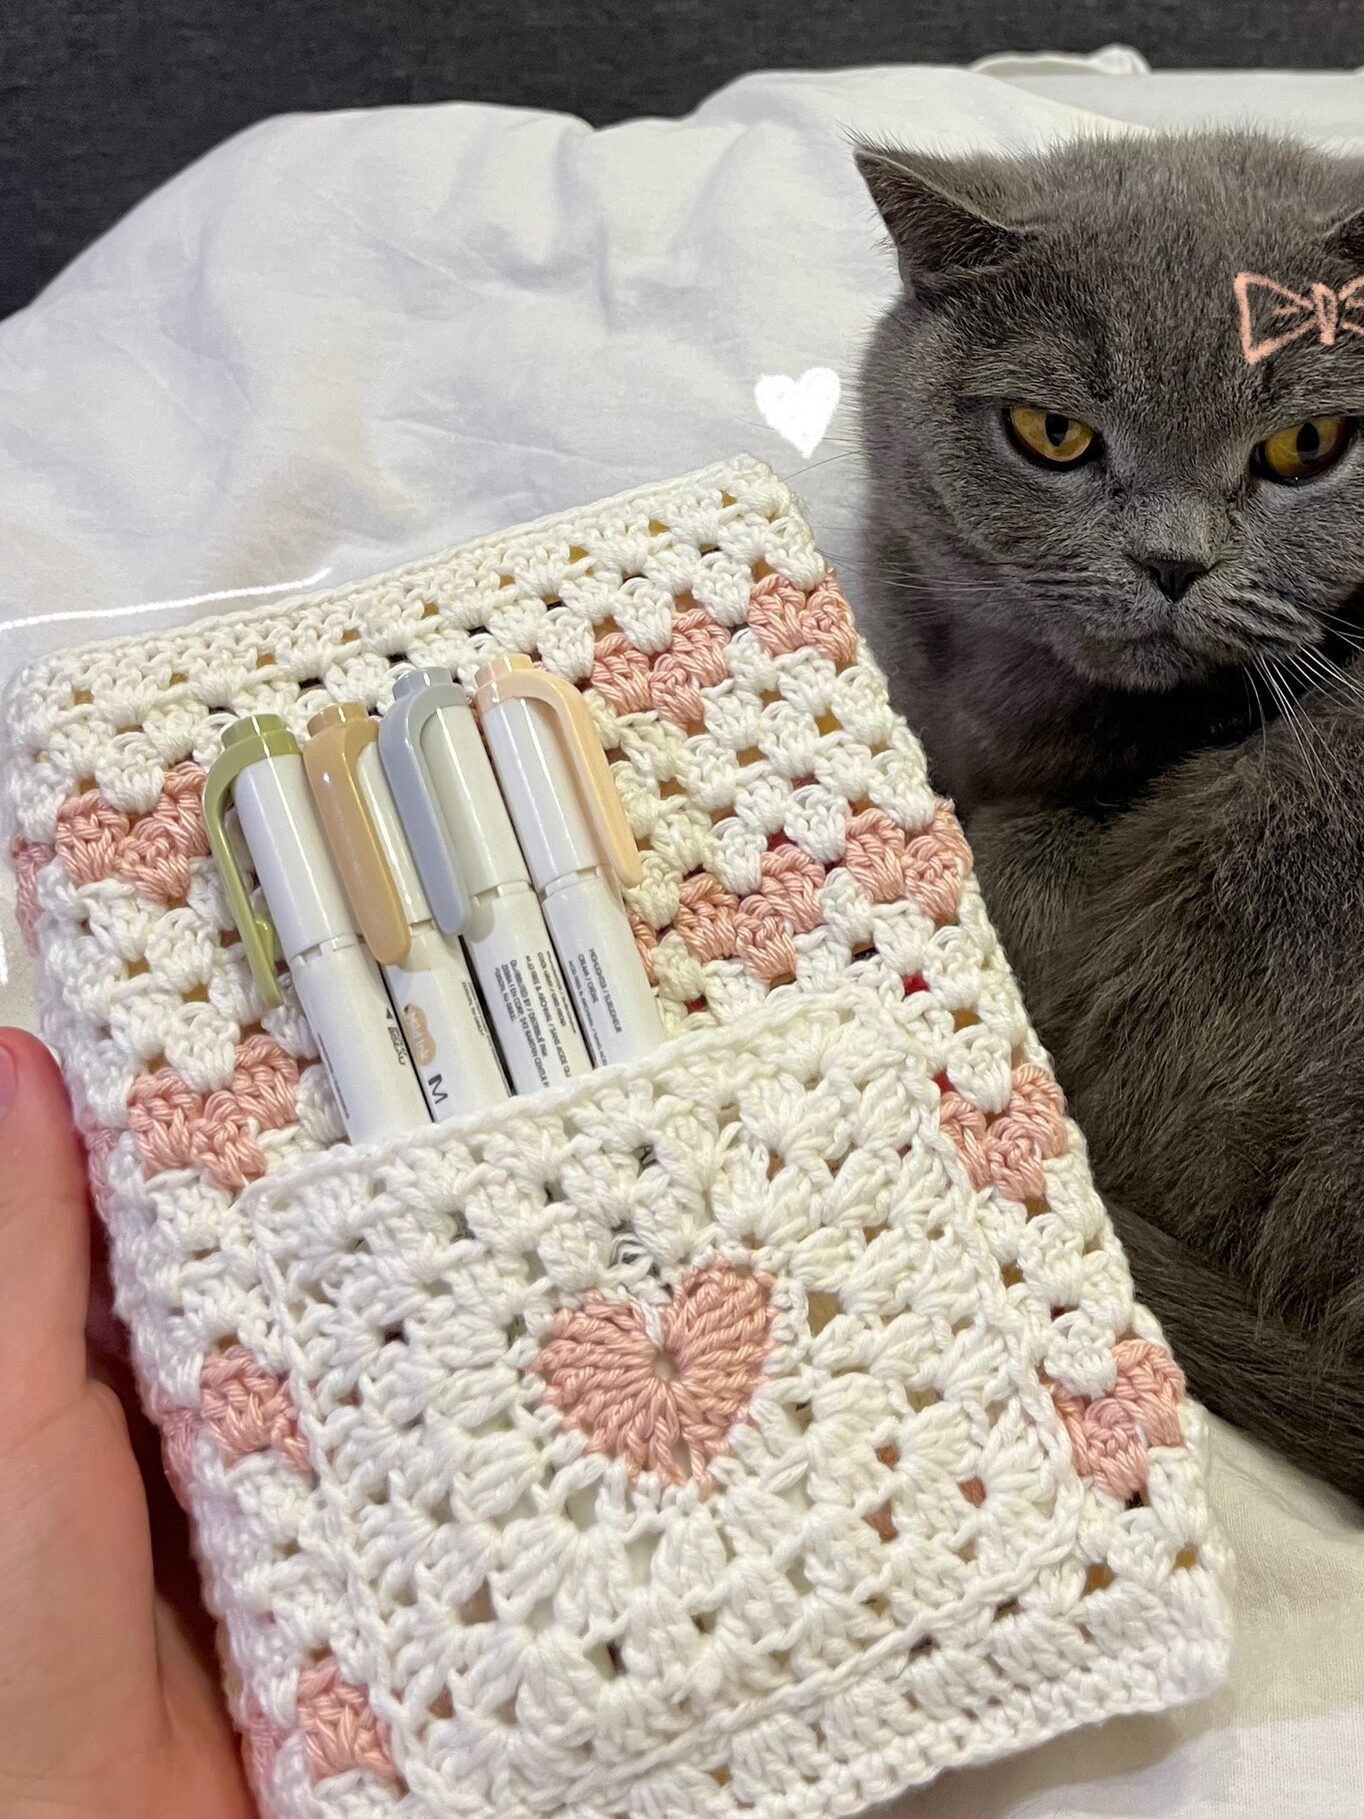
I’m going to teach you how to make this crochet book sleeve step by step. 🧶📚 It’s a fun and beginner-friendly project that you can easily customize to your own style and book size. Let’s get started
© 2026 dariarsii. All rights reserved 💕This pattern is for personal use only
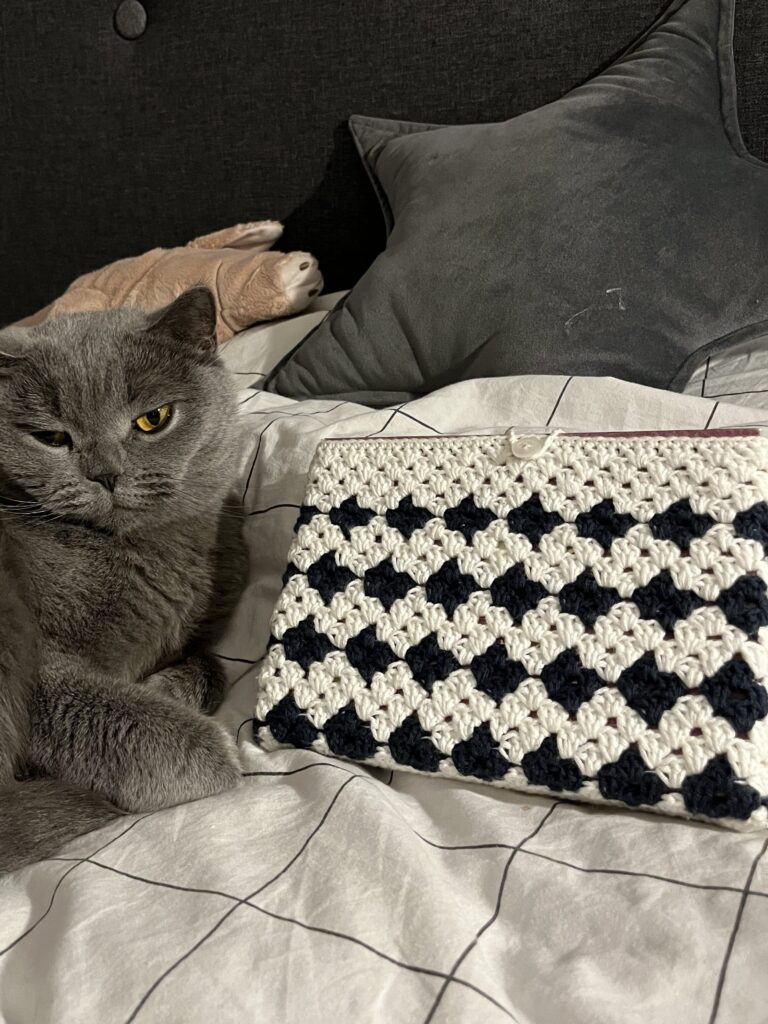
Video Tutorial
📊 Pattern Info
Skill level: Beginner–Intermediate
Technique: Double crochet clusters
Customizable: Size & Color
Time: Time: 2–5 hours (depending on experience)
🧵 Materials
– 2 colors of yarn
– Crochet hook
– Tapestry (cross-stitch) needle
– A book (for sizing)
✍️ Abbreviations
ch – chain
dc – double crochet
sc – single crochet
sl st – slip stitch
🧶 Free Written Pattern
1. Foundation Chain
-Ch multiple of 3 plus 1 (e.g., 13 (3×4+1); 16(3×5+1); 19; 22; 25 etc.).
If you are following my YouTube tutorial, please pay attention to this part. In the video, I mentioned the calculation 3 × x − 1 + 2.
However, in this written pattern, I simplified it for clarity. It actually means the same thing — it is just written in a different way to make the pattern easier to follow.
So don’t get confused — both methods lead to the same result. I just adjusted the wording here to make it more beginner-friendly.
-Adjust your foundation chain so it matches the height of your book.
This will determine the final size of your sleeve.
2. Row 1 (Double Crochets)
-Ch 3 (counts as dc), dc across.
-Work 5 dc in the last ch of foundation chain to round the corner.
-Continue dc along the opposite side.
-Work 5 dc in the last stitch.
-Sl st to join.
3. Row 2 (Color Change)
-Ch 3, 2 dc in same stitch.
-Change color, work 3 dc in next gap.
-Repeat across.
-Sl st to join.
4. Row 3 (Solid Color)
-Ch 3, 2 dc in same gap.
-3 dc in next gap.
-Repeat across.
-Sl st to join.
5. Row 4 (Color Change)
-Repeat Row 2.
6. Row 5 (Solid Color)
-Repeat Row 3.
7. Repeat Pattern
-Alternate Rows 2–6 until desired length.
8. Optional Solid Section
Add additional solid rows using one color if needed.
9. Clasp
-Ch for clasp.
-Sl st in the middle.
-Sc evenly across the top edge.
10. Finishing
-Weave in all ends.
-Sew on the button.
💡 Tips
- Use cotton yarn for better structure
- Check sizing with your book as you go
- Keep tension consistent for a clean look
💌 Stay Connected
- Follow me on YouTube
- Save this pattern on Pinterest
- More patterns coming soon 💖
Categories
Leave a Reply