
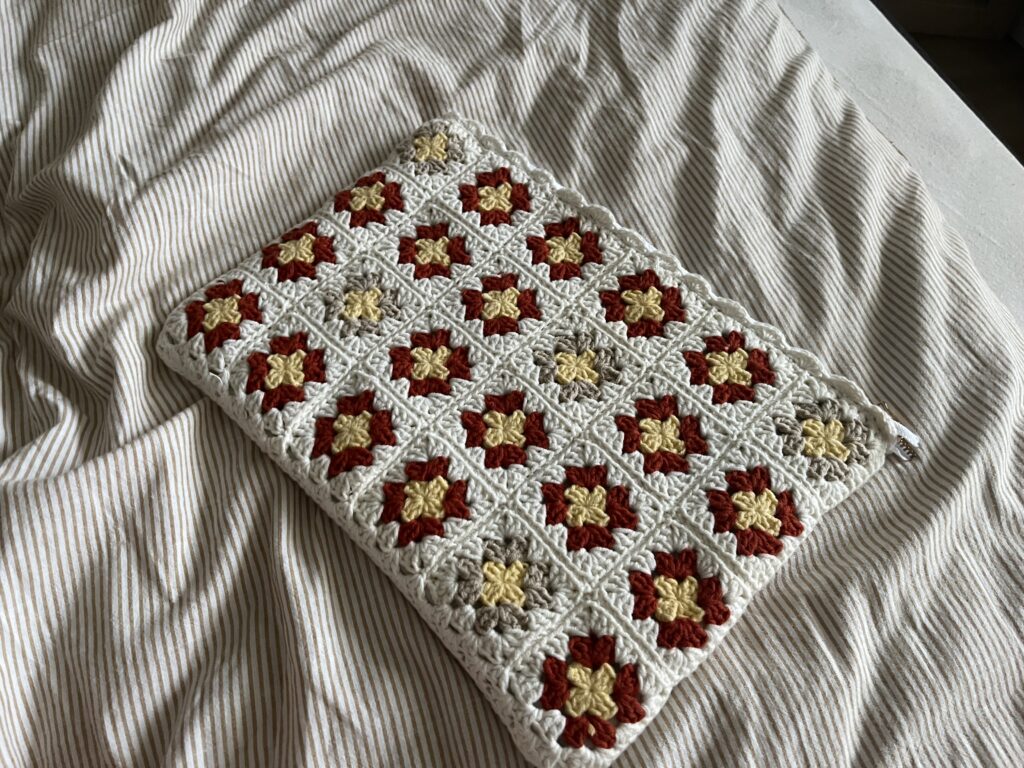
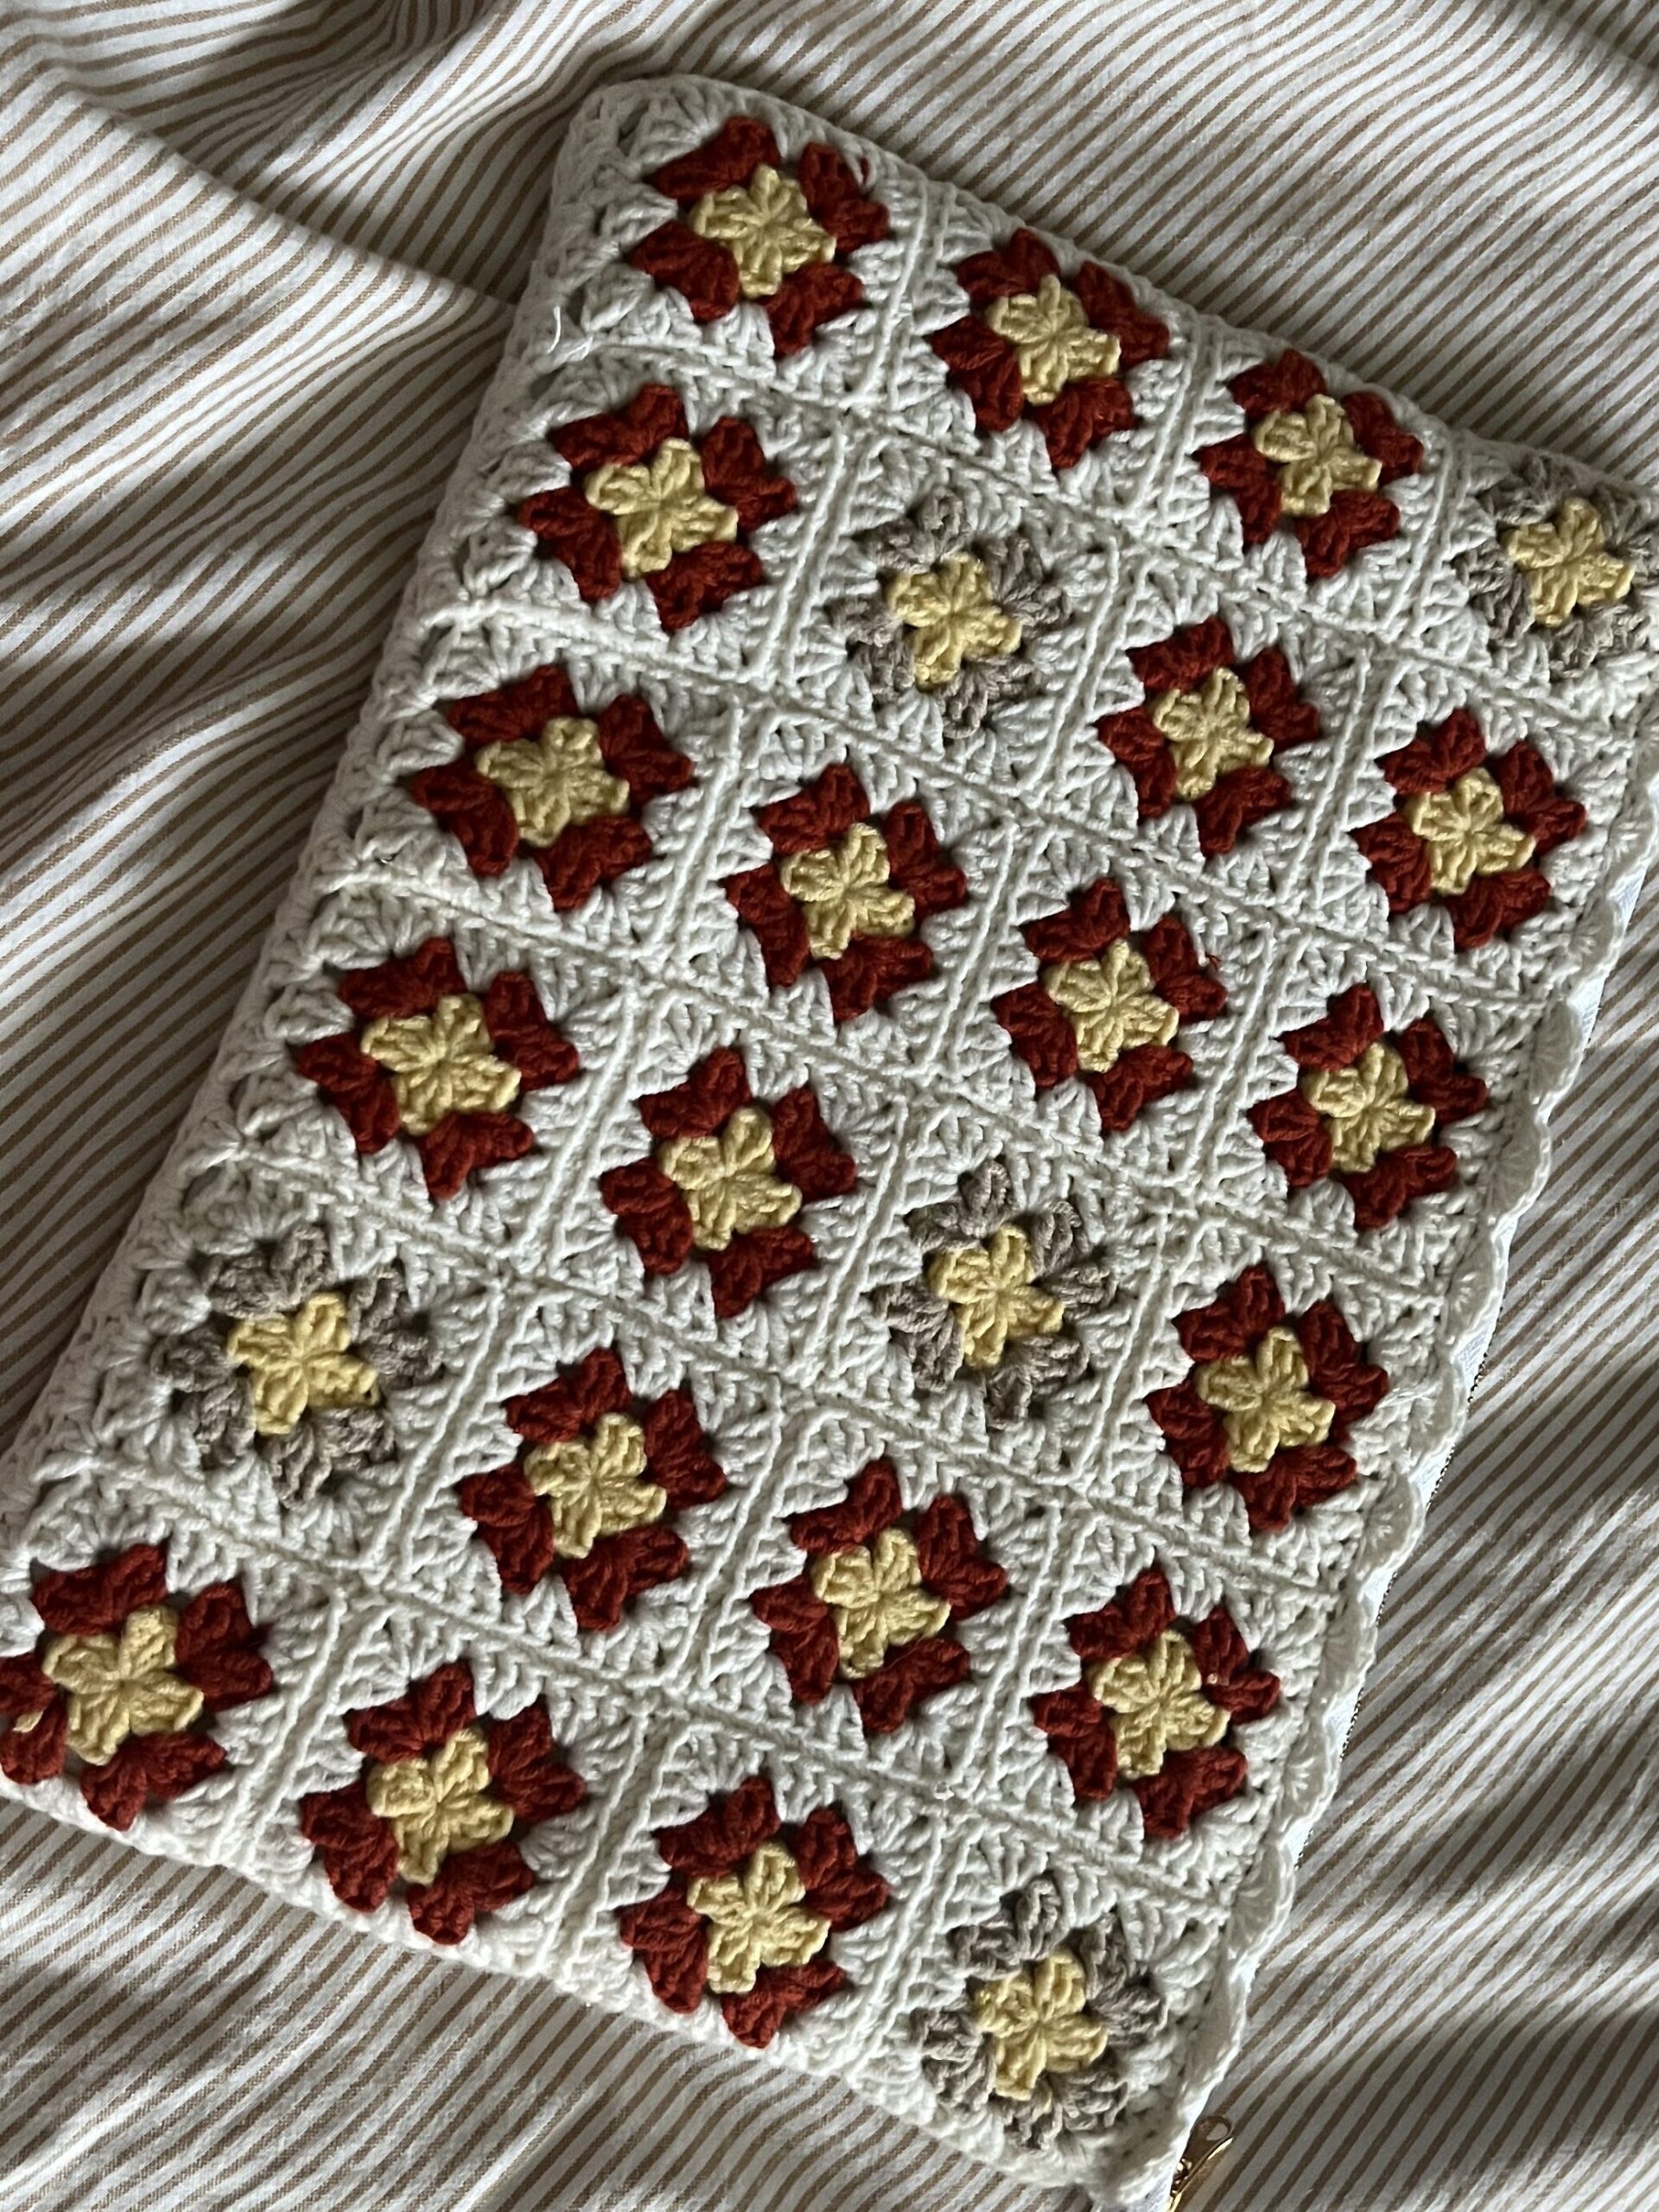
Create a cute and practical crochet laptop sleeve using classic granny squares 💻🧶✨ This beginner-friendly project is fully customizable in size and color, making it perfect for protecting your laptop while adding a handmade touch.
© 2026 dariarsii. All rights reserved 💕
This pattern is for personal use only
Granny Square Laptop Case Video Tutorial
📊 Pattern Info
Skill level: Beginner
Technique: Granny squares
Customizable: Yes, size & color
🧵 Materials
– Yarn (2–3 colors or more)
– Crochet hook (recommended for your yarn, e.g. 3 mm)
– Scissors
– Tapestry needle
– Optional:
- Zipper
- Fabric lining
✍️ Abbreviations
ch – chain
sc – single crochet
dc – double crochet
sl st – slip stitch
st(s) – stitch(es)
🧶 Free Laptop Case Pattern
Granny Square
Round 1 (Center)
– Make a magic ring
– Ch 3 (counts as dc)
– Work 1 dc into ring
– Ch 2
👉 Repeat 3 times:
– 3 dc
– Ch 2
👉 End with 1 dc to complete first cluster
– Sl st to join
– Pull ring tight
– Ch 1, fasten off
Round 2
– Join new color in corner space
– Ch 3 (counts as dc)
– Work 2 dc in same space
👉 In each corner:
– 3 dc, ch 2, 3 dc
👉 Repeat around
– Sl st to join
– Ch 1, fasten off
Round 3
👉 Repeat Round 2:
– 3 dc in each side space
– In corners: (3 dc, ch 2, 3 dc)
👉 Sl st to join
👉 Ch 1, fasten off
Make Multiple Squares
👉 Make enough squares to fit your laptop
💡 Example:
– Measure your laptop
– Create grid (e.g. 4 × 6 squares per side)
– Make 2 panels (front + back)
Joining Squares
- Place squares wrong side facing you
- Join using sc through back loops only
👉 Insert hook into both squares
👉 Work sc across edge
!!! Hide yarn tails while joining
👉 Join squares into rows first
👉 Then join rows together
Building the Sleeve
- Once panel is large enough, fold around laptop
- Check size
👉 If needed:
Add extra granny-style rows around edges (no corners)
Closing the Bottom
- Turn work wrong side out
- Align bottom edges
👉 Join with sc across
– Ch 1, fasten off
👉 Turn right side out
Top Edge
Option 1: Simple Edge
- Work sc evenly around top
- Join, fasten off
Option 2: Shell Border (Optional)
– Skip 1 st
– 5 dc in next stitch
– Skip 1 st
– Sl st in next
👉 Repeat around
👉 Sl st to join, fasten off
Finishing
- Weave in ends
- Block if desired (for better shape)
💡 Tips
- Adjust number of squares to fit your laptop
- Use thicker yarn for sturdier case
- Add lining or zipper for extra protection
💌 Stay Connected
- Follow me on YouTube
- Save this pattern on Pinterest
- More patterns coming soon 💖
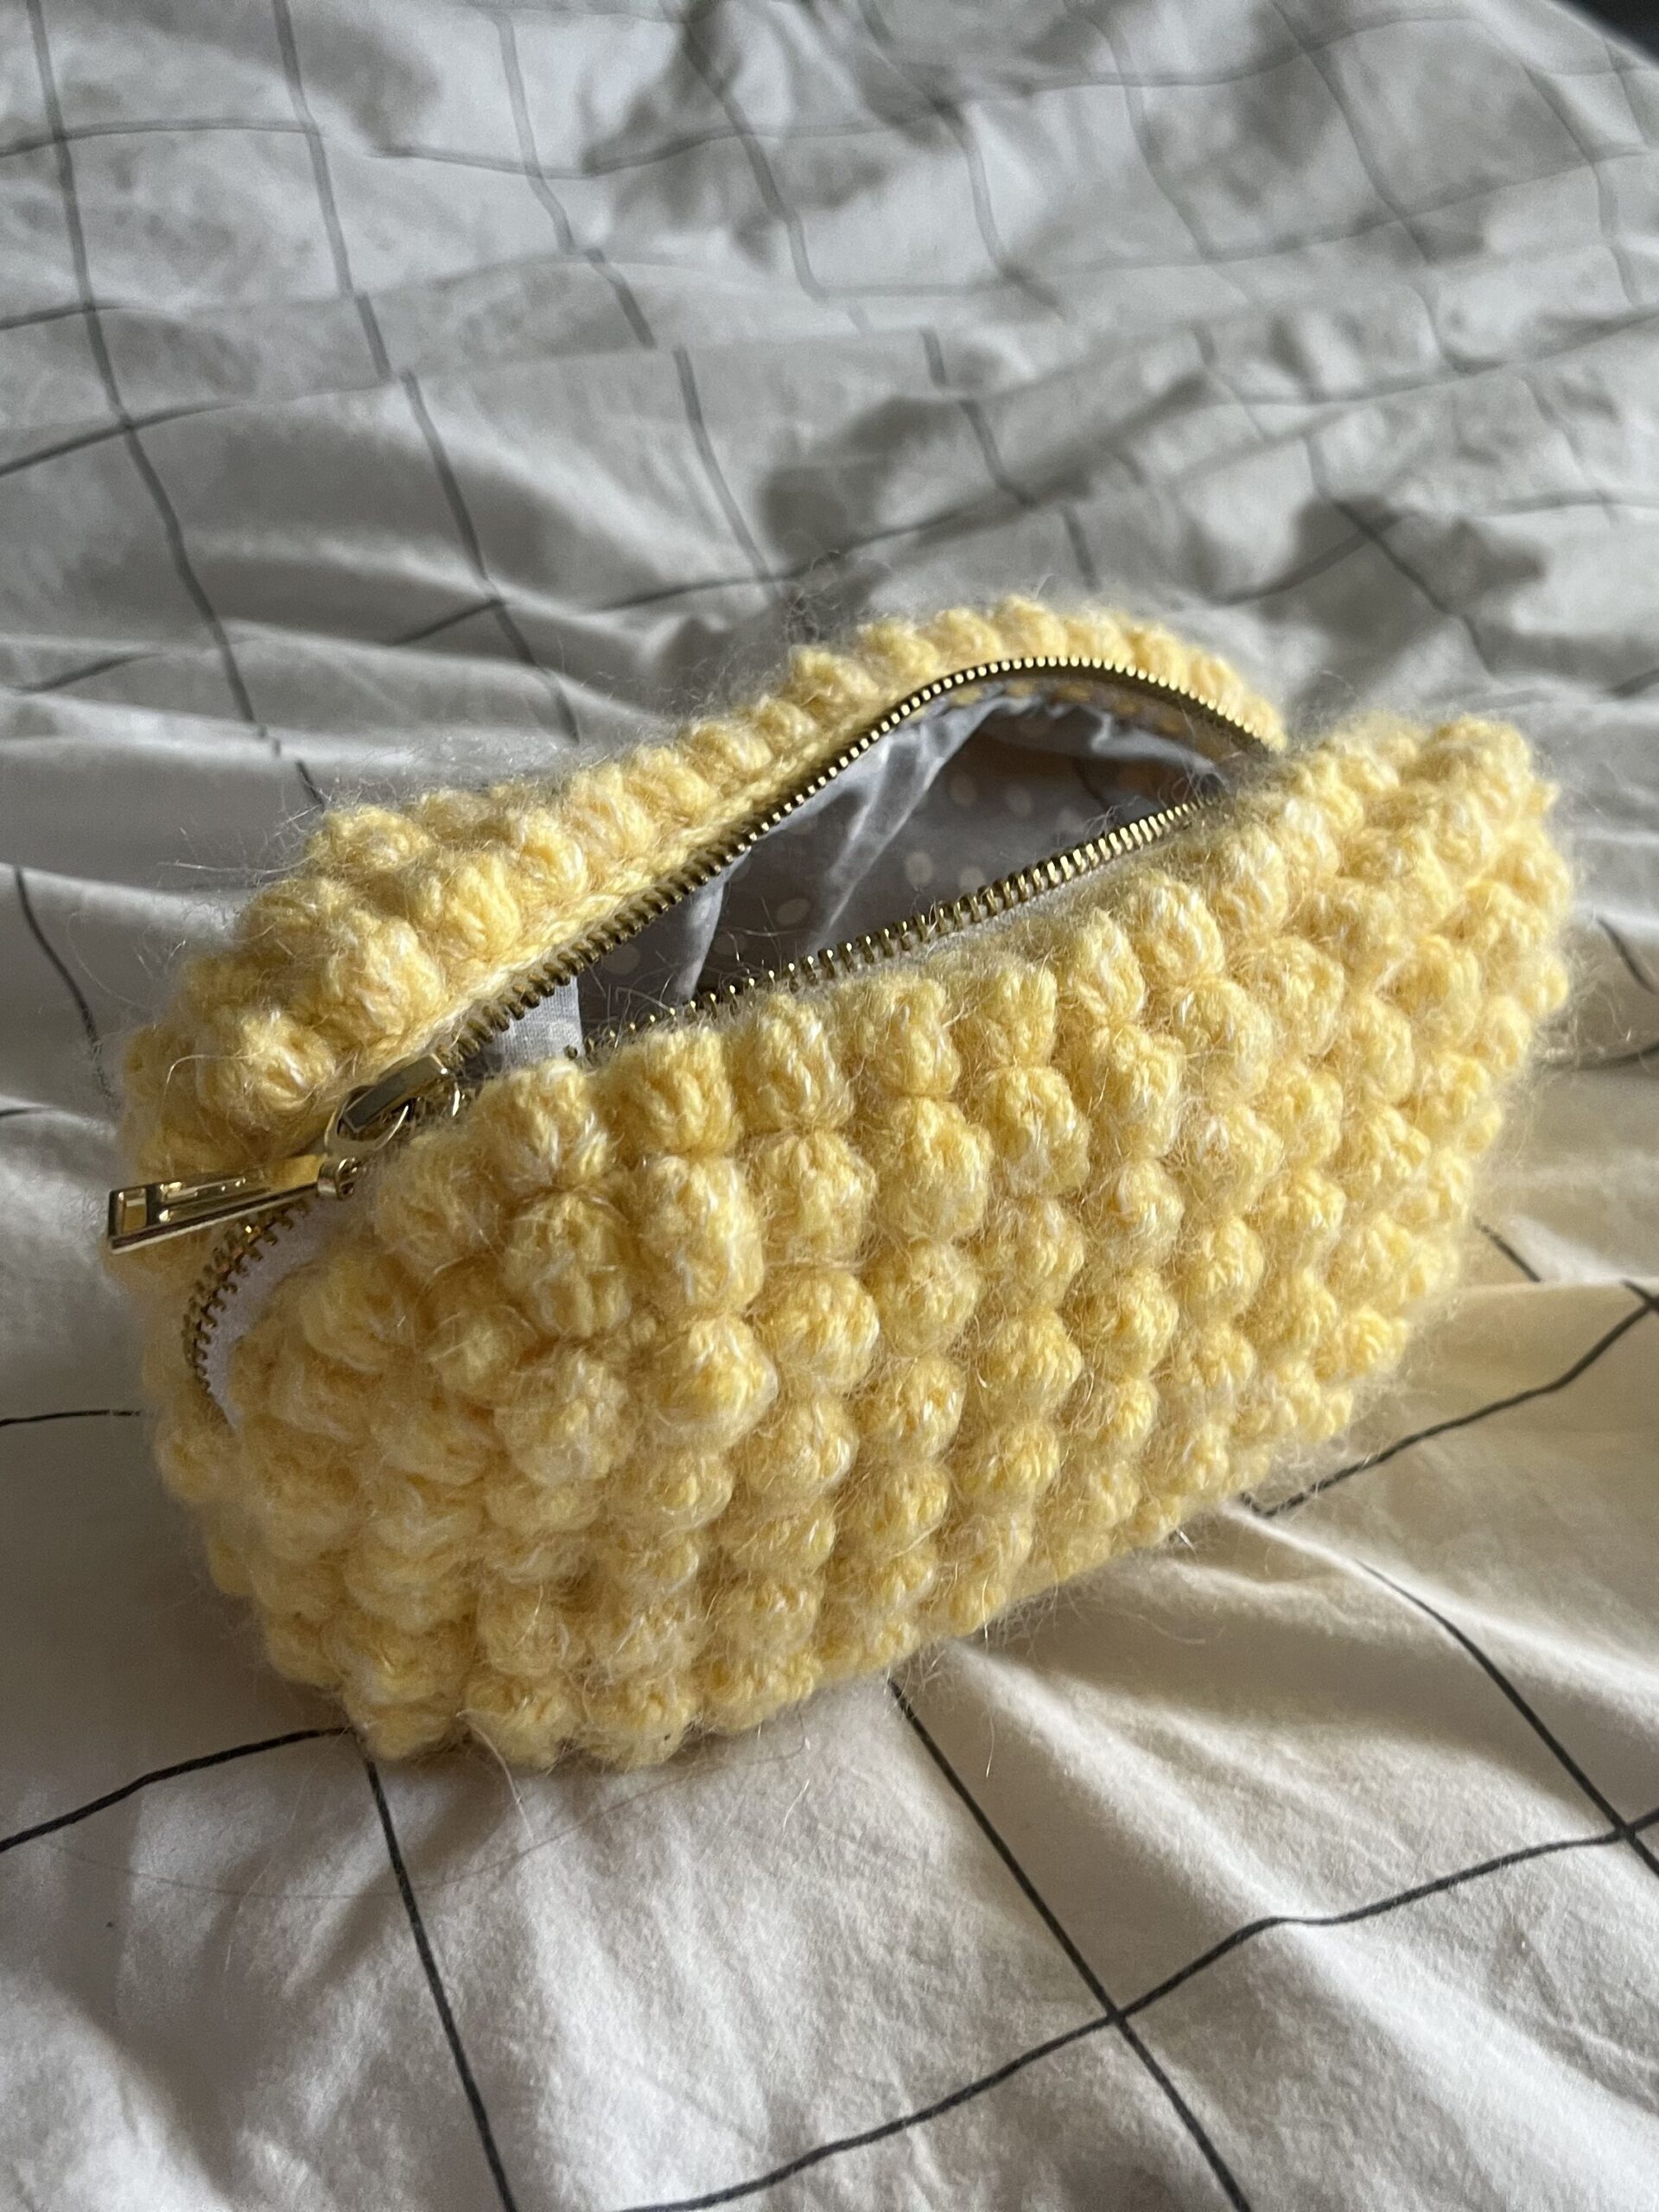
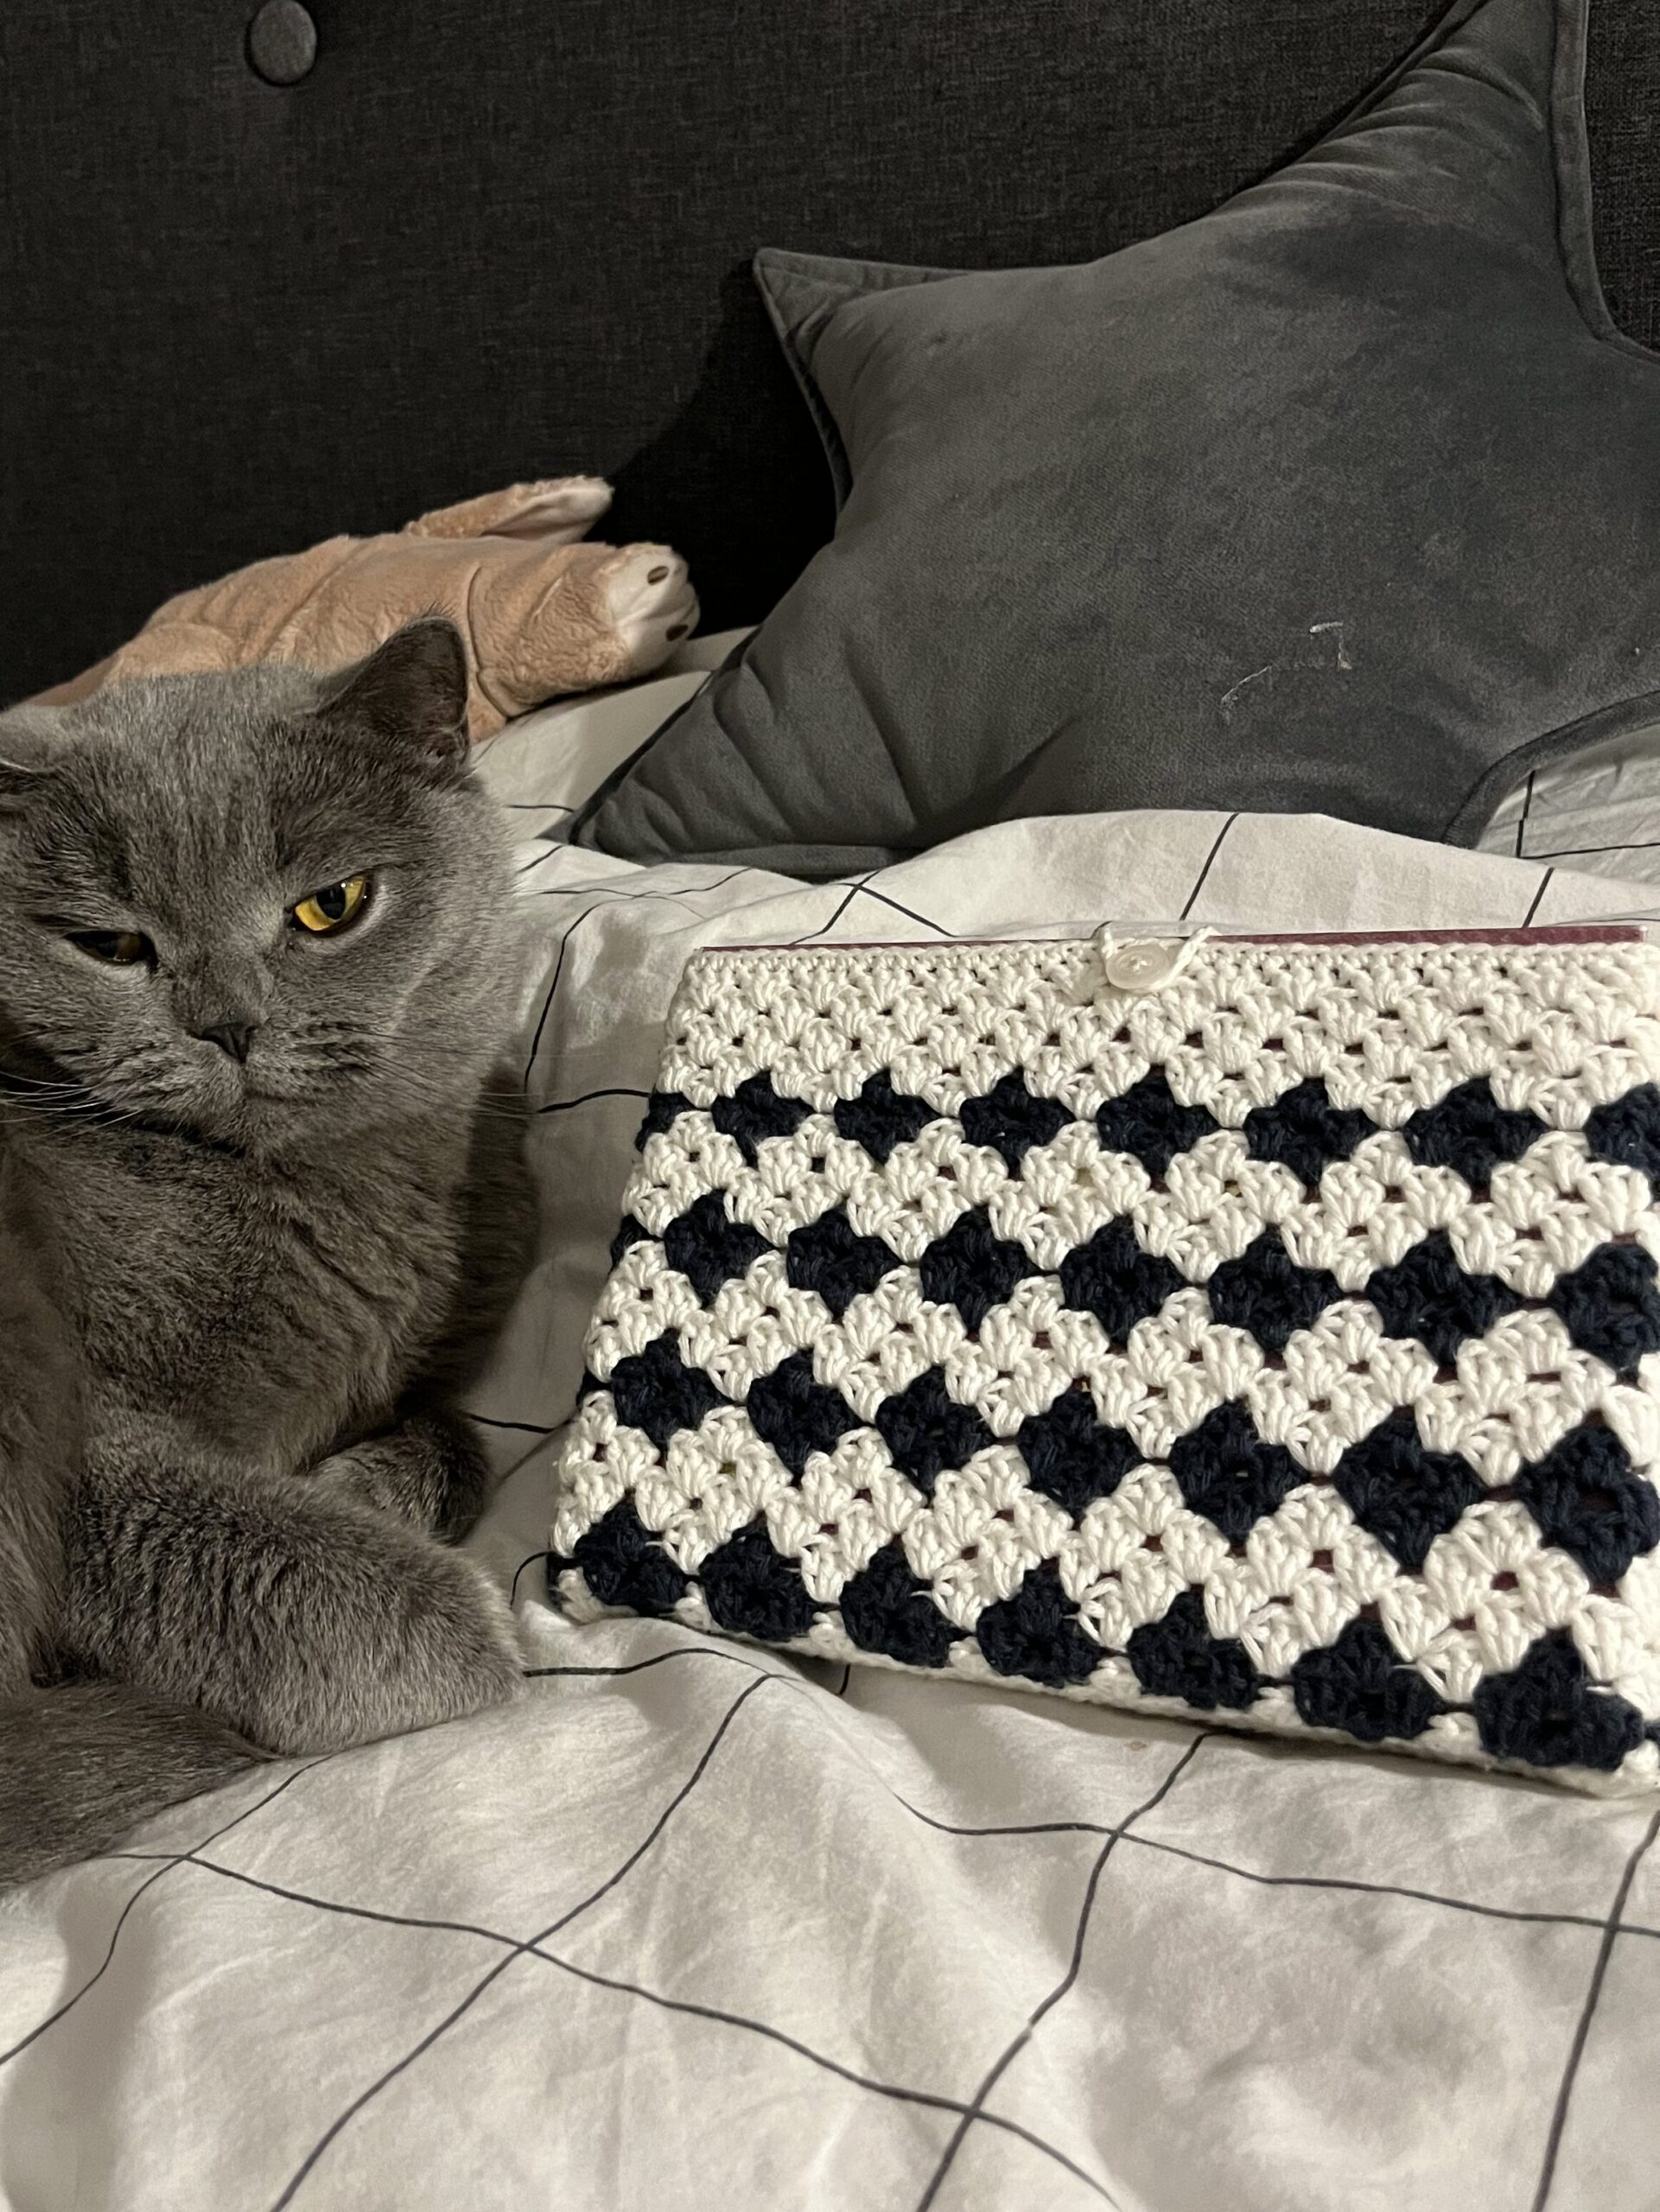
Categories
Leave a Reply